

Easy Chocolate Bark Recipe for Halloween
Make easy Halloween chocolate bark with graham crackers, melted chocolate, pretzels, candy corn, and spooky candy eyes. A fun way to use leftover Halloween candy!

Monster Mash Halloween Candy Bark
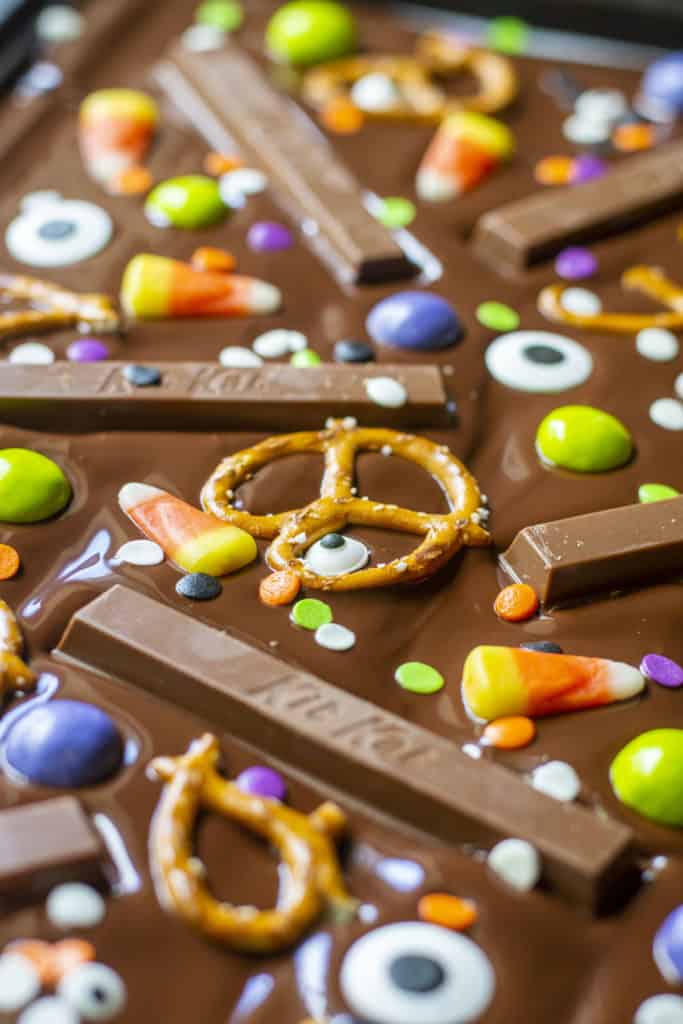
This Monster Mash Halloween Candy Bark is a ridiculously easy chocolate bark recipe loaded with graham crackers, melted chocolate, crunchy pretzels, candy corn, chocolate candies, and spooky edible eyes. It’s sweet, crunchy, colorful, and just a little bit monster-y.
The best part? You don’t need to bake anything. Melt the chocolate, spread it over the graham crackers, pile on your favorite Halloween candy, and chill until everything sets. Then break it into pieces and watch it disappear.
It’s also a fun way to use up leftover Halloween candy. You know, the candy that somehow multiplies in the kitchen after October 31.
Make a batch for Halloween parties, school events, bake sales, or a spooky movie night. Kids can help decorate, and you can customize every piece with whatever candy and sprinkles you have on hand.
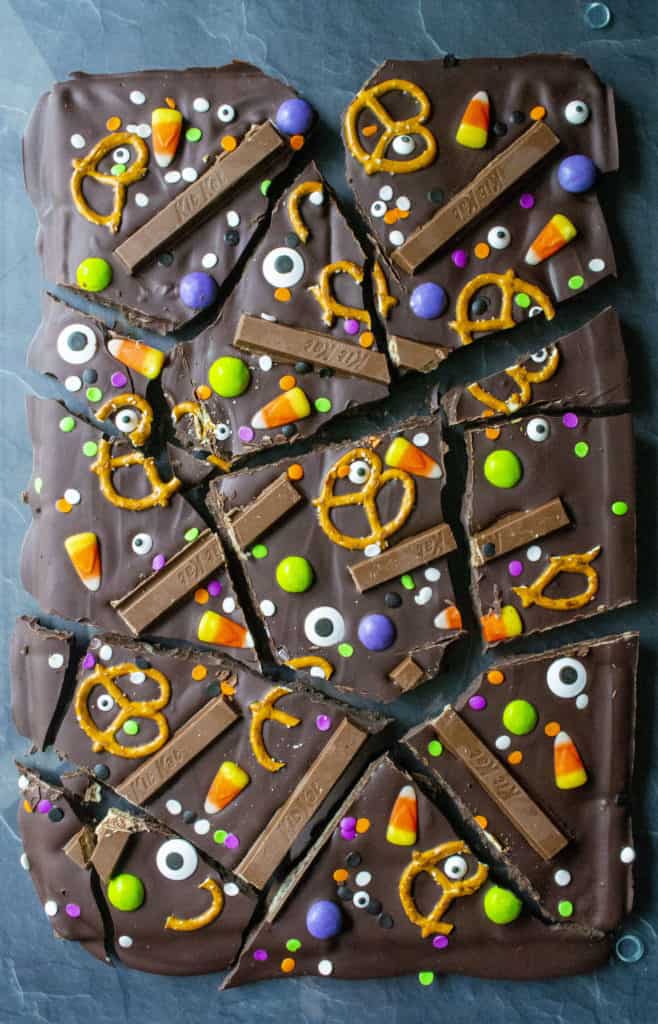
Why You’ll Love This Halloween Chocolate Bark
- No baking required: Melt, spread, decorate, and chill. That’s the whole idea.
- A great way to use leftover candy: Mix and match your favorite chocolates, candy corn, pretzels, and Halloween decorations.
- Easy to customize: Use dark chocolate, milk chocolate, white chocolate, or a combination of your favorites.
- Perfect for sharing: Break the bark into irregular pieces for party platters, treat bags, and Halloween dessert tables.
- Kid-friendly fun: Let little goblins decorate their own sections with candy eyes, sprinkles, and colorful candy.
- Minimal cleanup: Everything comes together on one parchment-lined baking sheet.
Ingredients You’ll Need
- Graham crackers: Twelve full sheets create the crunchy base for the chocolate bark. Arrange them close together so the chocolate holds everything in place.
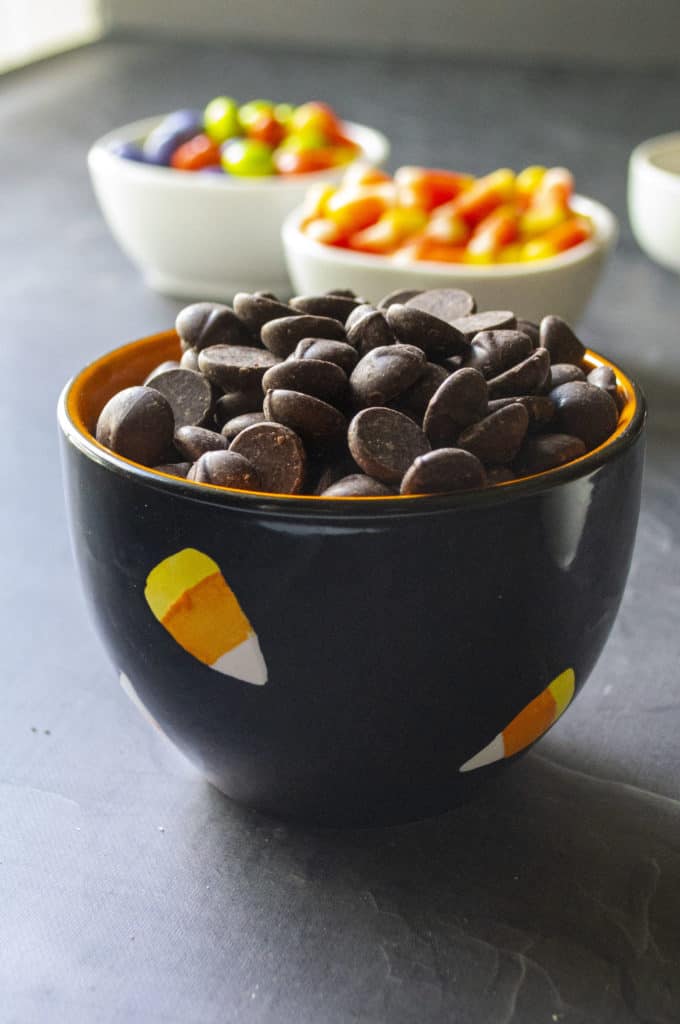
- Semi-sweet chocolate chips: You’ll need 24 ounces. Semi-sweet chocolate balances the sweetness of the candy toppings.
- Candy-coated chocolates: Use ½ cup of colorful candy-coated chocolates for pops of Halloween color.
- Milk chocolate crisp wafer candies: Three to four packages add chocolate flavor and a light, crispy texture.
- Candy corn: Use ½ cup for a classic Halloween look.
- Pretzels: Add ½ cup for a salty crunch that balances the sweet toppings.
- Halloween sprinkles: Optional, but they’re an easy way to add extra color and spooky details.
- Edible candy eyeballs: These turn an ordinary chocolate bark recipe into a monster-themed Halloween treat.
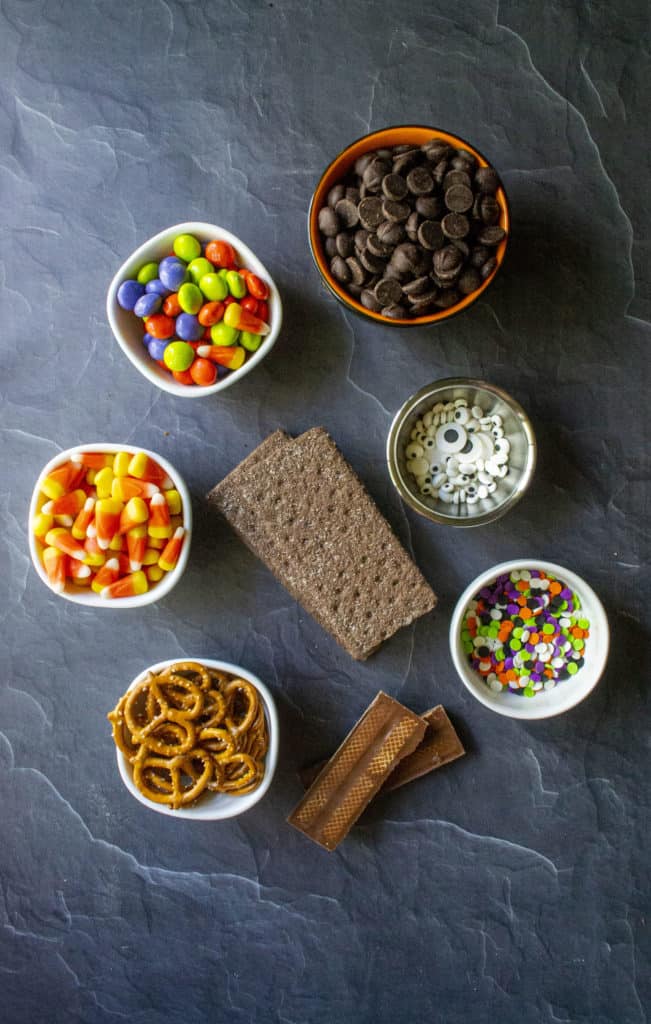
How to Make Halloween Chocolate Bark
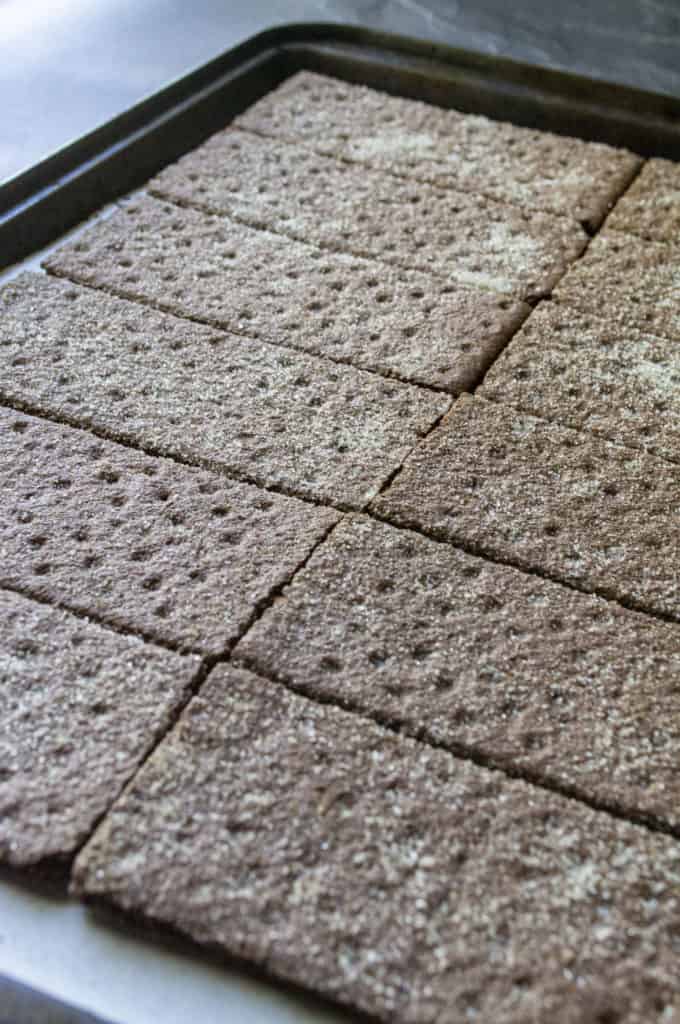
- Prepare the baking sheet. Line a 9×13-inch baking sheet or pan with parchment paper. Arrange the graham crackers in a single layer, making sure the edges touch.
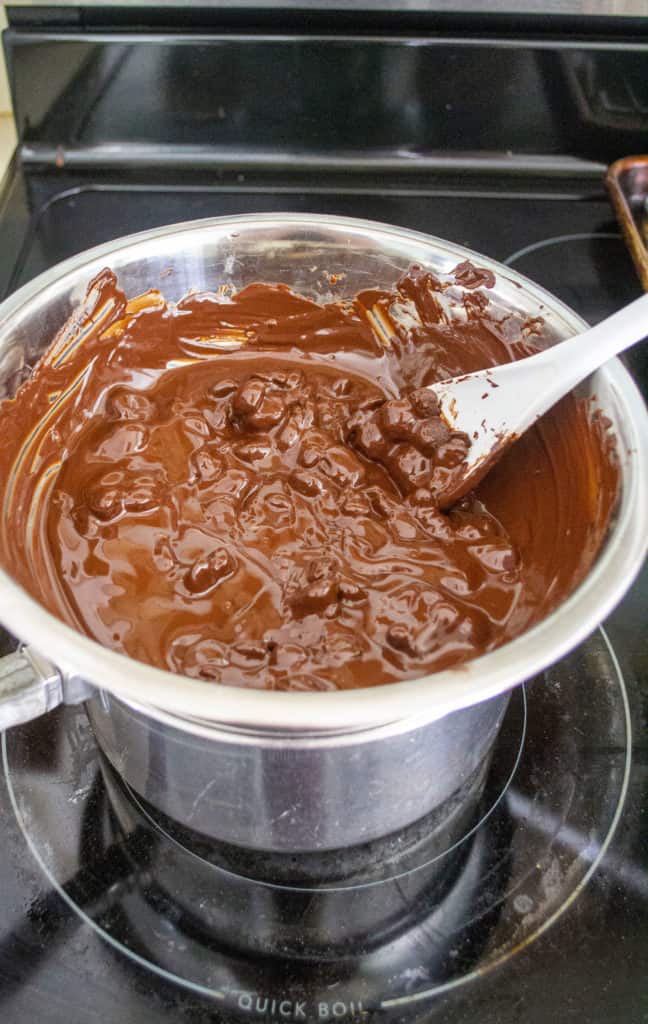
- Melt the chocolate. Set a heatproof bowl over a saucepan containing about 2 inches of gently simmering water. Make sure the bottom of the bowl doesn’t touch the water. Add the chocolate chips and stir until completely melted and smooth. Keep water away from the chocolate, since even a little can cause it to seize.
- Spread the chocolate. Pour the melted chocolate over the graham crackers. Use an offset spatula or the back of a spoon to spread it into an even layer, covering the crackers.
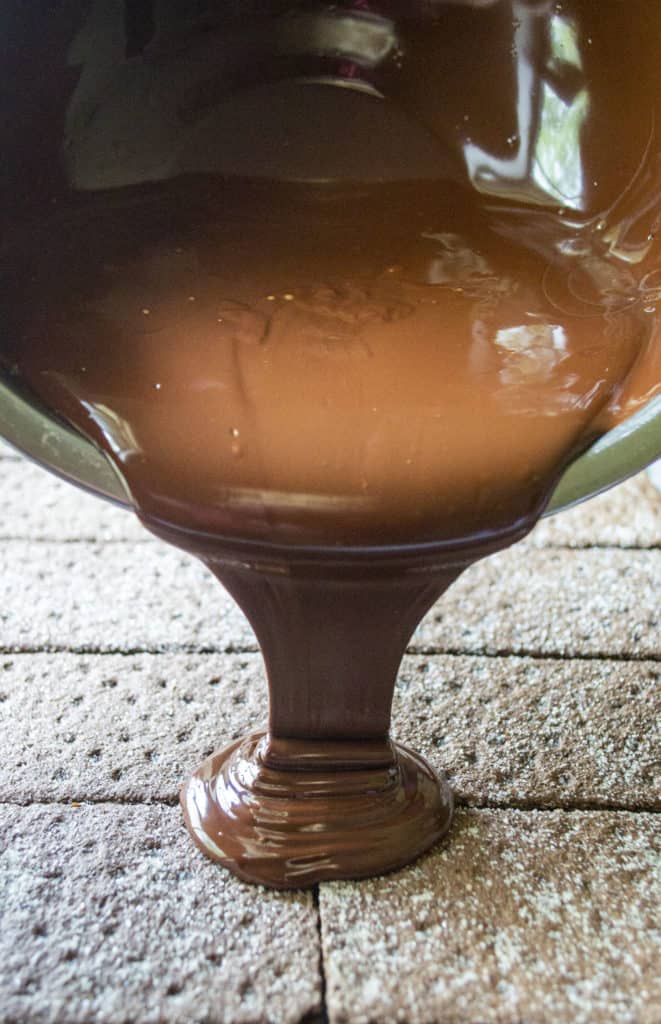
- Add the toppings. While the chocolate is still melted, scatter the candy-coated chocolates, crisp wafer candies, candy corn, pretzels, Halloween sprinkles, and edible candy eyes over the top. Gently press larger pieces into the chocolate so they stay in place.
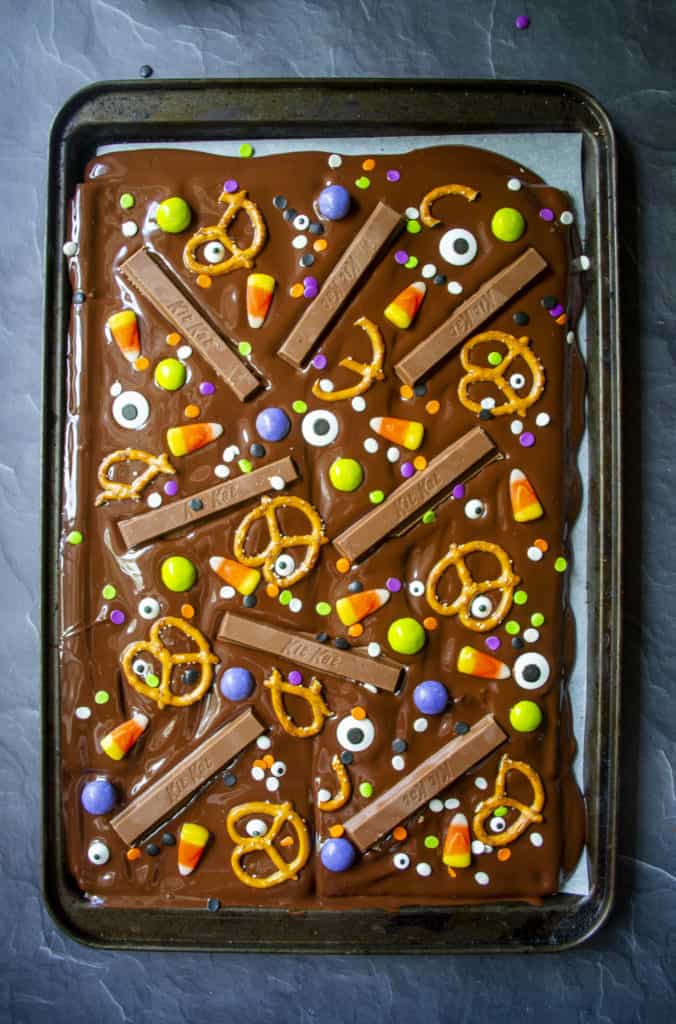
- Chill until firm. Transfer the pan to the refrigerator and chill for 30–45 minutes, or until the chocolate has fully hardened.
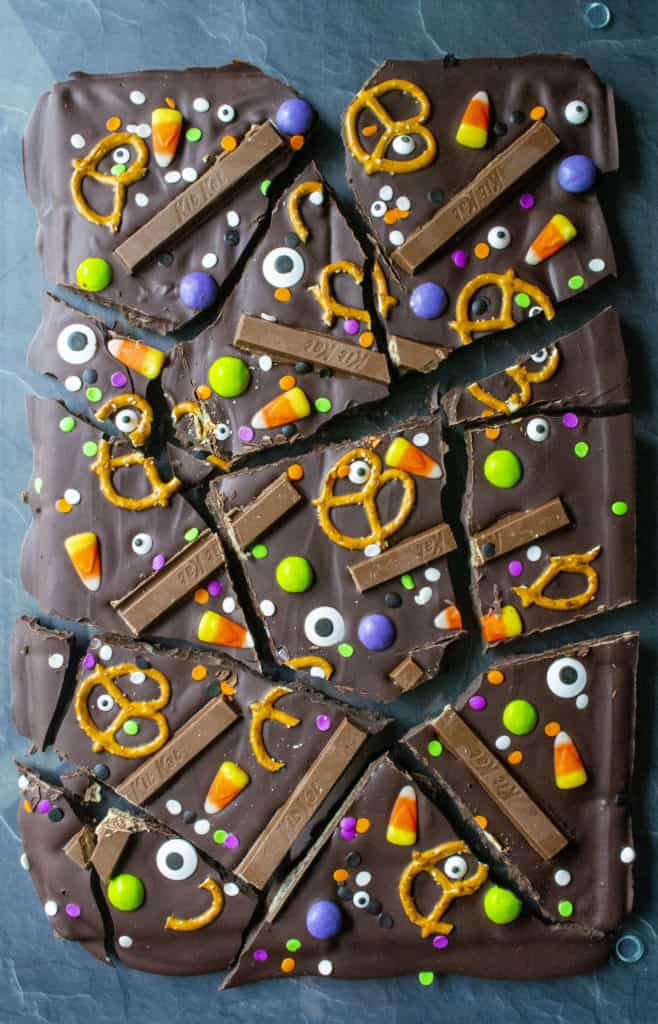
- Break into pieces. Lift the bark from the pan using the parchment paper. Break or cut it into irregular pieces, then serve, package in treat bags, or store in an airtight container.
Tips for Perfect Chocolate Bark
- Use the double-boiler method. This gives you more control over the heat and helps prevent scorching. Chocolate can be temperamental, and nobody wants a bowl of seized chocolate on Halloween.
- Keep the heat gentle. The water should simmer rather than boil aggressively. Stir the chocolate as it melts and remove the bowl from the heat once it’s smooth.
- Have your toppings ready first. Melted chocolate begins to set as it cools, so prepare the candy and decorations before you start melting.
- Don’t worry about making it perfect. The fun of candy bark is that every piece looks a little different. Uneven edges and mismatched toppings are part of the charm.
- Balance the sweetness. Semi-sweet or dark chocolate and salty pretzels help balance the candy toppings. If you’re using very sweet candy, avoid piling on too much of everything.
- Let the chocolate harden completely. If you try to break the bark too early, the toppings may slide around and the chocolate can bend instead of snapping cleanly.
- Make it your own. Swap in chopped nuts, peanut butter cups, white chocolate, or whatever candy you already have. There are no rules for a monster mash.
Easy Halloween Chocolate Bark Variations
- White chocolate Halloween bark: Replace some or all of the semi-sweet chocolate with white chocolate. Add orange and black sprinkles for a classic Halloween color scheme.
- Dark chocolate bark: Use dark chocolate for a less-sweet base that pairs nicely with candy corn and pretzels.
- Peanut butter chocolate bark: Add chopped peanut butter cups or peanut butter candies. Check ingredient labels carefully if serving anyone with a peanut allergy.
- Salty-sweet candy bark: Add extra pretzels or chopped nuts for more crunch and a salty contrast to the chocolate.
- Leftover Halloween candy bark: Chop larger candy bars into small pieces and scatter them over the chocolate. It’s a handy way to use up the candy nobody seems to want.
- Monster bark: Go heavy on the candy eyes, colorful sprinkles, and oddly shaped candy pieces. The messier it looks, the more monster-like it becomes.
How to Use Leftover Halloween Candy
Chocolate bark is one of the easiest leftover Halloween candy recipes because you don’t need every piece of candy to match. Gather whatever you have, chop the larger pieces, and spread them over the melted chocolate.
Chocolate bars, candy-coated chocolates, peanut butter candies, wafer candies, and colorful sprinkles can all work. Keep the pieces small enough to bite comfortably, and add delicate decorations after baking.. or, in this case, while the chocolate is still soft.. so they stay in place.
If your candy stash is mostly hard candy or gummy candy, use those more selectively. Some toppings don’t pair as well with chocolate, and sticky gummies can be awkward to bite when the bark is cold.
Frequently Asked Questions
- What is chocolate bark? Chocolate bark is melted chocolate spread into a thin layer and decorated with toppings such as nuts, pretzels, dried fruit, candy, or sprinkles. Once the chocolate hardens, it’s broken into pieces for serving.
- Can I use a microwave to melt the chocolate? Yes. Place the chocolate chips in a microwave-safe bowl and heat in short 15–20-second bursts, stirring between each interval. Stop when a few small pieces remain and stir until smooth. Avoid overheating, which can scorch the chocolate.
- Why did my melted chocolate become thick and grainy? Chocolate can seize if it overheats or comes into contact with water. Use a completely dry bowl and utensils, keep the heat gentle, and stir frequently while melting.
- How long does chocolate bark take to set? This recipe typically needs 30–45 minutes in the refrigerator. The exact time depends on the thickness of the chocolate and how cold your refrigerator is. The bark is ready when the chocolate is firm throughout.
- Can I make Halloween chocolate bark ahead of time? Absolutely. Make it a few days before your party, let it set completely, and store it in an airtight container in a cool place. This is one less thing to worry about on Halloween.
- Can I use different candy toppings? Yes. Use your favorite chocolate candies, candy corn, pretzels, chopped candy bars, nuts, and Halloween sprinkles. Smaller pieces are easier to bite and help the bark hold together.
- How do I keep the toppings from falling off? Add the toppings immediately after spreading the melted chocolate, while the surface is still soft. Gently press larger pieces into the chocolate so they become anchored as it sets.
- How should I serve chocolate bark at a Halloween party? Break it into bite-sized pieces and arrange it on a platter, or package individual portions in small treat bags. It also makes a fun addition to a Halloween dessert table.
Storage and Freezing
- Room temperature: Store the fully set chocolate bark in an airtight container in a cool, dry place for up to 1–2 weeks. Warm conditions can soften the chocolate, so choose a cool spot.
- Refrigerator: If your kitchen is warm, store the bark in an airtight container in the refrigerator. Let it sit briefly before serving if you prefer the chocolate less firm.
- Freezer: Place the bark in a freezer-safe airtight container with parchment paper between layers. Freeze for up to 2 months. Thaw in the refrigerator or at room temperature while still wrapped or covered to help limit condensation.
More Halloween Recipes
Looking for more spooky-season treats? Try these favorites from A Wicked Whisk:
A Note From Heather
I love Halloween.. the decorations, the candy, and all the wonderfully ridiculous treats that show up this time of year. This chocolate bark is about as easy as it gets, and it’s a fun way to use up leftover candy without turning on the oven.
Let the kids go wild with the toppings, break it into pieces, and call it a monster mash. Just remember: the candy eyes are edible. You don’t have to remove them before eating. Although I won’t judge if you eat the eyes first.
Halloween Chocolate Candy Bark


Ingredients
- 12 graham cracker sheets
- 24 ounces semi-sweet chocolate chips
- 1/2 cup candy coated chocolates
- 3-4 packages milk chocolate crisp wafer candies
- 1/2 cup candy corn
- 1/2 cup pretzels
- Halloween colored candy sprinkles
- edible candy eyeballs
Instructions
- Prepare the baking sheet. Line a 9×13-inch baking sheet or pan with parchment paper. Arrange the graham crackers in a single layer, making sure the edges touch.
- Melt the chocolate. Set a heatproof bowl over a saucepan containing about 2 inches of gently simmering water. Make sure the bottom of the bowl doesn't touch the water. Add the chocolate chips and stir until completely melted and smooth. Keep water away from the chocolate, since even a little can cause it to seize.
- Spread the chocolate. Pour the melted chocolate over the graham crackers. Use an offset spatula or the back of a spoon to spread it into an even layer, covering the crackers.
- Add the toppings. While the chocolate is still melted, scatter the candy-coated chocolates, crisp wafer candies, candy corn, pretzels, Halloween sprinkles, and edible candy eyes over the top. Gently press larger pieces into the chocolate so they stay in place.
- Chill until firm. Transfer the pan to the refrigerator and chill for 30–45 minutes, or until the chocolate has fully hardened.
- Break into pieces. Lift the bark from the pan using the parchment paper. Break or cut it into irregular pieces, then serve, package in treat bags, or store in an airtight container.
Notes
PRO TIPS FOR PERFECT CANDY BARK
- Use the double-boiler method. This gives you more control over the heat and helps prevent scorching. Chocolate can be temperamental, and nobody wants a bowl of seized chocolate on Halloween.
- Keep the heat gentle. The water should simmer rather than boil aggressively. Stir the chocolate as it melts and remove the bowl from the heat once it's smooth.
- Have your toppings ready first. Melted chocolate begins to set as it cools, so prepare the candy and decorations before you start melting.
- Don't worry about making it perfect. The fun of candy bark is that every piece looks a little different. Uneven edges and mismatched toppings are part of the charm.
- Balance the sweetness. Semi-sweet or dark chocolate and salty pretzels help balance the candy toppings. If you're using very sweet candy, avoid piling on too much of everything.
- Let the chocolate harden completely. If you try to break the bark too early, the toppings may slide around and the chocolate can bend instead of snapping cleanly.
- Make it your own. Swap in chopped nuts, peanut butter cups, white chocolate, or whatever candy you already have. There are no rules for a monster mash.
Nutrition
Update Notes: This post was originally published in September of 2016 but was republished with an updated recipe, new photos, step by step instructions and tips in October of 2026.


I can’t wait to try this recipe because it looks like to b be a great recipe to make and cook also!
hello Karen, It is so much fun to make and is a hit if you are throwing a Halloween party.
This is the cutest Halloween recipe I’ve ever seen! It’s so creative and spooky (although beautiful at the same time)!
Awe .. thank you Lydia 🙂 This is one of my favorite candy recipes and so easy to throw together!